

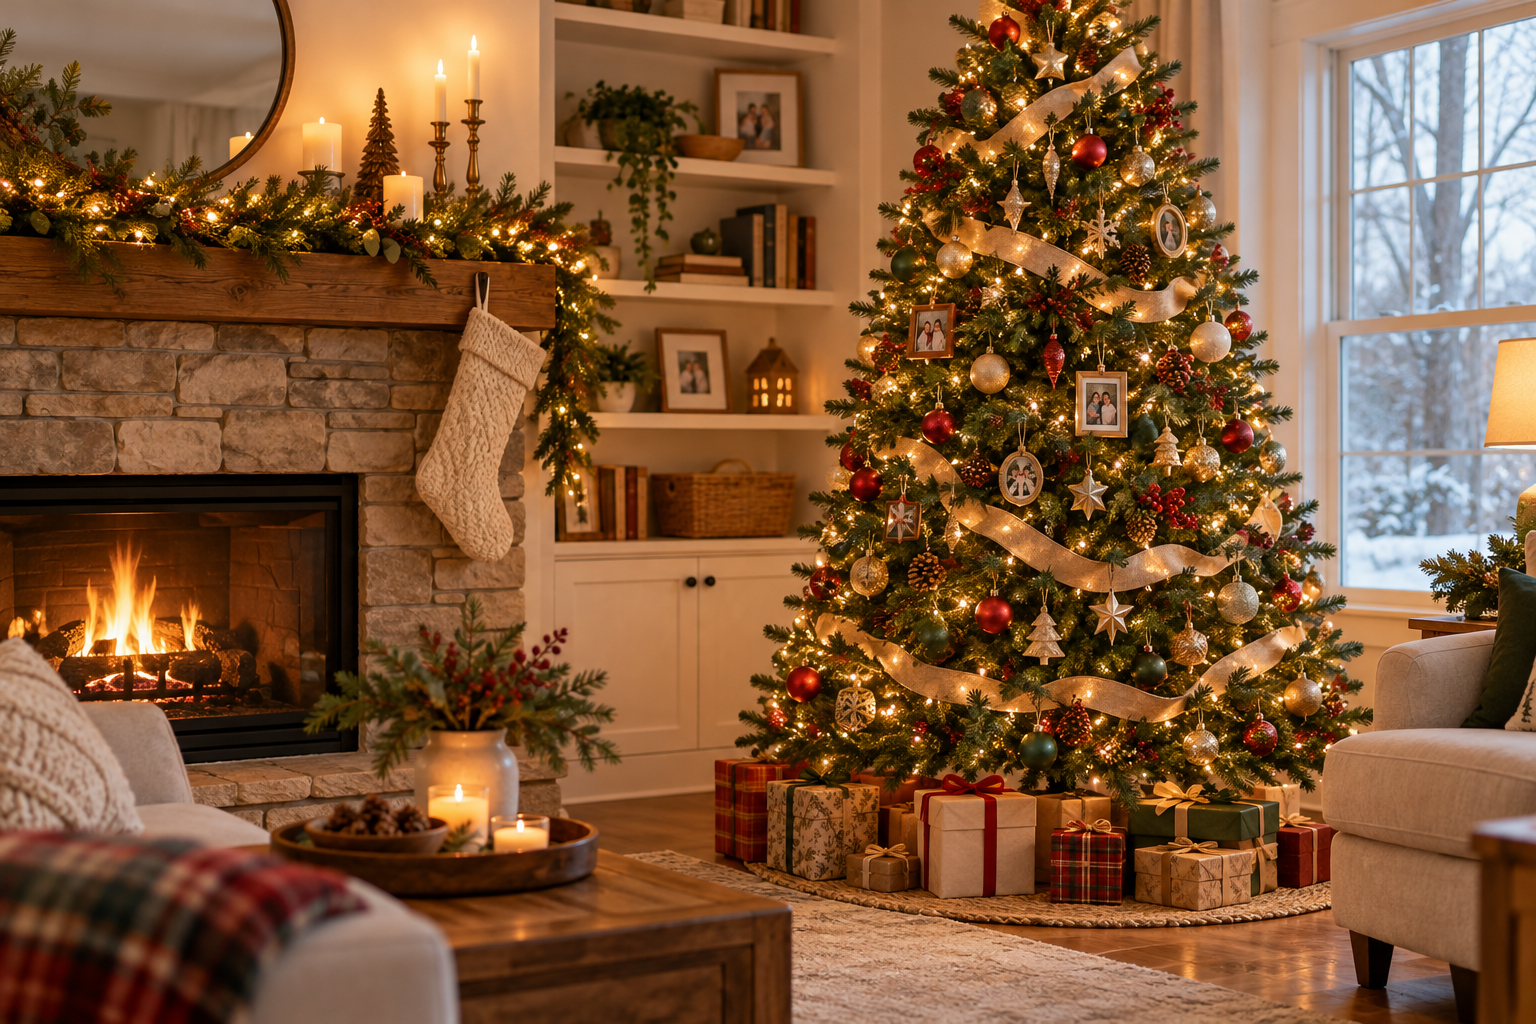
How to Decorate a Christmas Tree: 6 Simple Steps and Personal Touches
Start with the decorations you already love. In around an hour, you can turn a mixed box of lights, ribbon and baubles into a tree that looks balanced and feels like yours. Follow the six steps below, then use the quick style ideas only if you want a theme.
Before You Start
- Set the tree in its final spot. Check the stand, leave room to walk around it, and keep access to the water reservoir if it is real.
- Test the lights. Put damaged strands aside; follow the light and tree manufacturers’ instructions.
- Sort decorations into large, small, and meaningful pieces. Set heavy or fragile pieces aside until you find secure branches for them.
Choose one detail to repeat—perhaps red ribbon, warm metallics, or natural wood. It will tie together decorations that do not match. If you need a finishing piece, browse decorations for the tree after you know what is missing.
How to Decorate Your Christmas Tree
1. Fluff and Check the Shape
On an artificial tree, open the branch tips section by section, including those closer to the trunk. Walk around it and fill obvious gaps by adjusting branches.
For a real tree, check that it is secure and can be watered. Do this before lights make the branches harder to reach.
2. Put On the Lights
With the lights switched off, place them according to their instructions. Work around the tree and, where the lighting system permits, put some lights further in and some nearer the tips. Switch them on, step back to your usual viewing spot, and fix dark patches now. Keep cords out of walkways and away from water.
3. Add Ribbon or Garland
Pick one treatment: loose curves of ribbon, a simple garland, or a few bows. For tucked ribbon, try a short length before cutting more:
- Secure one end inside the branches without bending them down.
- Bring a short section forward in a soft curve; tuck it back a little lower.
- Repeat downward, leaving open space for special decorations. Step back and adjust before adding another length.
Do not wrap ribbon tightly around every branch. If you prefer bows, space a handful around the tree after the larger decorations are in place.
4. Place the Larger Decorations
Hang larger decorations in the upper, middle, and lower sections, spreading them across the sides people will see. Leave each enough space to hang freely. Put heavy pieces on stronger branches nearer the trunk; move any piece that makes a branch droop.
5. Give Keepsakes the Best Spots
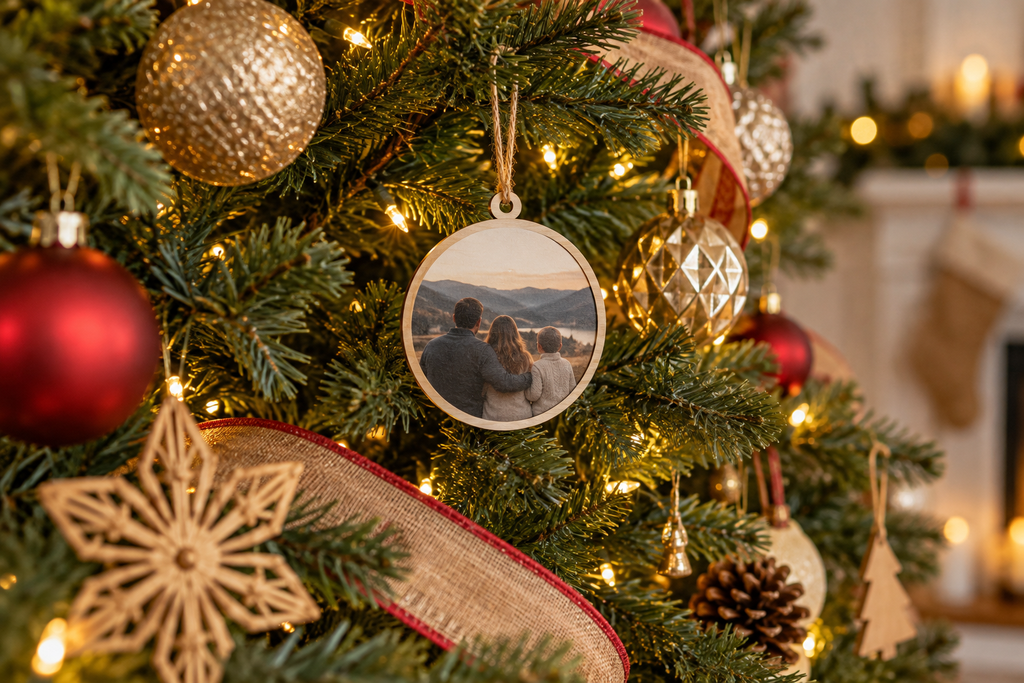
Put a few favourite photo baubles or handmade pieces at eye level. Face the images towards the room and leave space around them. Use smaller, simpler decorations between these focal points; repeat your chosen colour in different parts of the tree. For keepsake choices rather than overall placement, see these ideas for meaningful keepsakes.
6. Add the Topper and Edit
Use a topper only if it fits the available height and can be secured. Keep any skirt or collar clear of the stand, cords, and water access. Then take a photo from across the room: move crowded clusters into empty areas, uncover hidden keepsakes, and stop when the tree looks balanced.
Choose a Look From What You Own
A Memory Tree
Choose a few photos, handmade decorations, and dated keepsakes. Put them in visible spots, then use plain decorations between them. Add a note to the storage box explaining an older piece’s story for next year.
A Classic Red-and-Mixed Tree
Repeat red ribbon or a few red decorations across the branches. Let family heirlooms and other colours stay; the repeated red detail makes the mix feel intentional.
A Quiet Neutral Tree
Use a narrow palette with varied textures—matte, fabric, and a little metal. Leave greenery visible. If the decorations blend together, add a slightly darker ribbon for contrast.
A Colourful Family Tree
Let everyone choose a few decorations. Afterwards, move only the heaviest clusters to make room and repeat the brightest colours around the tree. Keep the process collaborative rather than undoing someone’s work.
A Tree for a Small Room
Check the footprint of the stand before choosing the tree’s height. On a slim or tabletop tree, use fewer, smaller decorations that can hang freely. Keep the surface stable and out of reach if children or pets could pull it over.
Quick Fixes
- Sparse? Open the inner branch tips on an artificial tree and shift decorations from crowded areas. Do not try to hide every bit of greenery.
- Cluttered? Remove pieces that overlap and give your favourites space. Save the extras for another display.
- Colours feel disconnected? Repeat one ribbon or decoration colour at the top, middle, and bottom before buying anything new.
Keep It Safe
Keep fragile decorations, loose hooks, small parts, and long loops away from children and pets. Follow the tree and light manufacturers’ guidance, keep the tree away from heat and exits, and turn off lights before leaving home or going to bed. Water a real tree as instructed; do not let a decorative collar block the stand.
Frequently Asked Questions
Does Ribbon Go On Before Decorations?
Tuck long ribbons into the branches after the lights and before most decorations. Add small bows later if you want to fill a particular gap.
How Many Decorations Does a 2-Metre Tree Need?
There is no useful universal number. A slim tree holds less than a wide one. Place your favourite pieces first, then fill gaps until each decoration has room to hang.
Do I Need to Decorate the Back?
Decorate the sides visible from the room or window. A corner tree needs less detail on its hidden side, but the tree must still stand securely.
Can I Mix Sentimental and Coordinated Decorations?
Yes. Give sentimental pieces the visible spots and use one repeated colour or ribbon to connect them. A theme should support the collection, not replace it.