


18 Halloween Window Decorations to Make Your Home Look Spooky Inside and Out
Halloween window decorations can turn a single pane into a ghostly greeting or make your whole house part of the neighborhood’s trick-or-treat route. The trick is to choose a display that suits the window: colorful translucent shapes for a sunny spot, bold silhouettes for street-facing glass, or a softly lit arrangement for a cozy living room.
Start with one main motif, repeat two or three colors, and leave enough clear space for the design to stand out. These ideas range from simple paper crafts to ready-made accents and nighttime effects, with practical ways to put each look together.
Choose the Right Decorations for Your Window
Before buying supplies, decide whether you want the display to look best from indoors, from the street, or both. Check the available sill depth, where the window opens, and how you will close the curtains each evening.
| Decoration | Best use | What to check |
|---|---|---|
| Static window clings | Quick seasonal shapes on smooth glass | Whether the product is genuinely non-adhesive and reusable |
| Adhesive decals | Detailed graphics or a coordinated scene | Approved surfaces and removal instructions |
| Paper silhouettes | Large, readable shapes for street-facing windows | Attachment method and contrast against the background |
| Translucent paper panels | Colorful decorations in daylight | Whether the materials tolerate condensation |
| Hanging decorations | Adding height without filling the glass | Weight, mounting surface, and clearance for blinds |
| LED lights and lanterns | Evening displays | Indoor or outdoor rating and access to power |
Easy DIY Halloween Window Decorations
1. Cut a Haunted Street from Black Cardstock
Create a row of crooked houses along the bottom of your window. Vary the rooflines, add a tower or two, and cut out a few oversized doors and windows. Keep the details chunky enough to read from the sidewalk.
Sketch the houses on scrap paper first, then transfer the shapes to black cardstock. Join the buildings into manageable sections and attach them with a method suitable for your glass. For a freestanding version, fold tabs along the bottom and stand the houses on a dry sill.
Place a diffuse light source behind the scene for evening viewing. Ordinary black paper does not glow; the buildings become visible through contrast with the brighter background.
2. Send Paper Bats Across One Corner
A diagonal flight of bats gives a plain window movement without covering the whole pane. Cut three sizes from black paper, then arrange them from one lower corner toward the opposite upper corner.
Use flat bats for a clean silhouette against the glass. If you want folded wings, suspend those bats inside the room from a separate support so the window can still open and the blinds can move.
Step outside before finishing. A smaller group of clearly spaced bats usually reads better than a crowded collection of tiny shapes.
3. Make Translucent Pumpkin Panels
These colorful panels work especially well in windows that receive daylight.
Cut a pumpkin-shaped frame from black cardstock, leaving a generous opening in the middle. Glue overlapping pieces of orange and yellow tissue paper across the opening on the back, then add a second cardstock frame to cover the edges. Finish with a black paper face and a green stem.
Keep the craft glue on the paper assembly rather than applying it to the window. Once dry, hang the lightweight panel from an appropriate support. Sunlight illuminates the tissue paper; a thick paper pumpkin or an ordinary uncarved pumpkin will not create the same effect.
4. Draw a Ghostly Border with Window Markers
A hand-drawn border is a good choice for a window with no usable sill. Try rounded ghosts along the bottom, scattered stars at the sides, and a short greeting such as “Boo!” in the center.
Use a marker explicitly intended for your glass surface, and test both application and removal in a small area.
If the greeting should read correctly from outdoors, tape a reversed paper guide on the other side of the pane and trace it. Broad shapes and short words stay legible farther away.
5. Build a Spiderweb in a Removable Frame
Use an empty lightweight picture frame or embroidery hoop to give a yarn spiderweb its own support. Tie several strands across the center to form spokes, then weave another strand around them to create the web.
Add one lightweight paper spider and display the frame on a stable sill or hang the hoop from a suitable support. Keeping the web on a separate frame makes it easier to reposition and store, and avoids stretching yarn across an opening window.
Choose white yarn against a darker background or black yarn against a light curtain.
6. String Together a Friendly Ghost Garland
Cut simple ghost shapes from white cardstock and draw a different expression on each one. Punch holes near the top and thread them onto twine, leaving a little space between the ghosts.
Hang the garland above the glass from suitable existing hardware or approved removable hooks. Keep the center shallow enough that it does not interfere with the window handle.
For a family craft, let each person design one ghost. Use large eyes and uncomplicated expressions so the faces remain recognizable through the glass.
Ready-Made Accents for a Quick Window Refresh
7. Arrange Window Clings as a Scene
Instead of scattering every shape evenly, give your clings a simple story: a ghost floating over pumpkins, a cat watching a moon, or bats leaving a haunted house.
Clean and dry the glass according to the product instructions before applying the pieces. Place the largest shape first, add a few supporting details, then leave a clear area around the main subject.
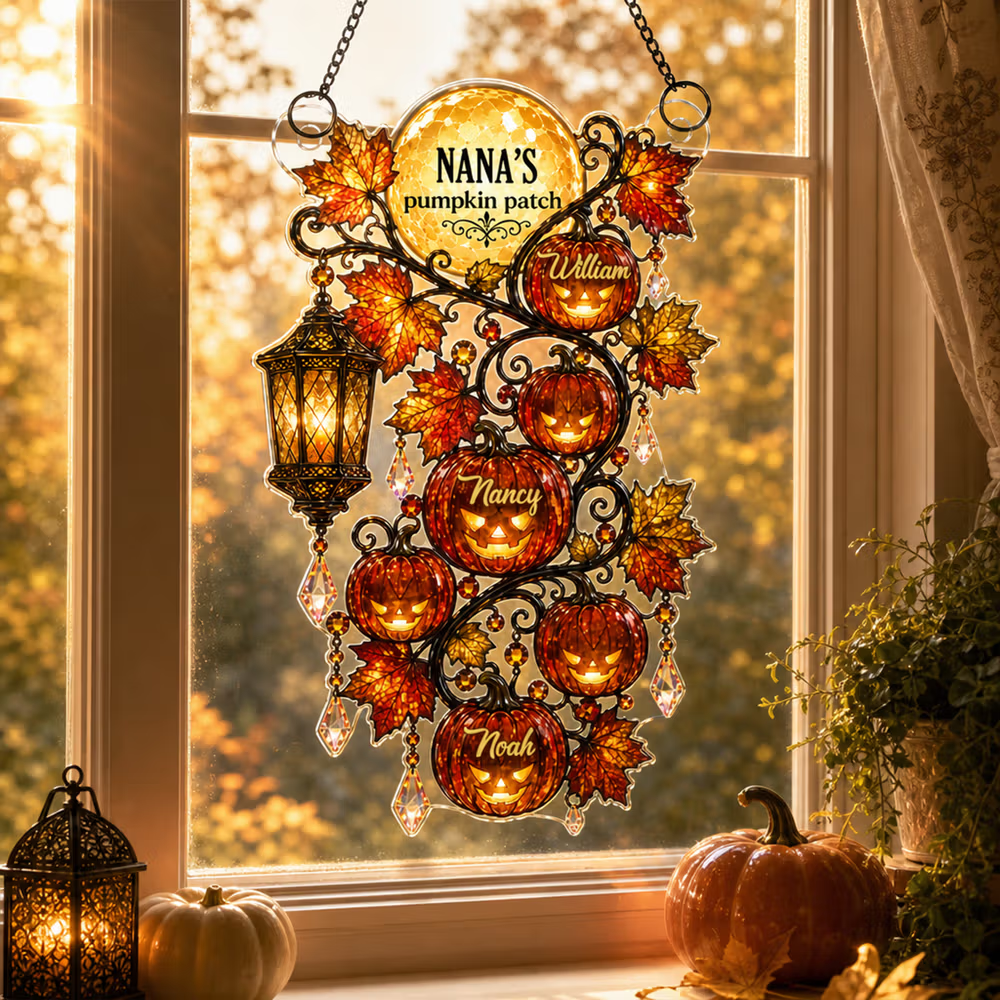
8. Hang a Halloween Suncatcher
A suncatcher adds a small focal point without taking over the window. It is particularly useful in a kitchen or reading corner where you want to keep most of the view clear.
Choose a size that fits within one pane and use a support rated for its weight and mounting surface. Keep the area around it simple so the design remains visible.
For a personal touch, explore Callie’s Halloween home decor, which includes personalized window-hanging suncatchers alongside other seasonal accents.
9. Center a Lightweight Wreath
A wreath gives a tall or narrow window a clear focal point. Choose a lightweight design with a strong outline, such as a dark twig-style circle, a small pumpkin wreath, or an autumn leaf ring with a few bats.
Position it where it will not obstruct the lock, opening mechanism, or blind. Use hardware intended for the wreath’s weight and the surface it attaches to; ribbon can be decorative, but it should not prevent the window from closing properly.
Echo one wreath color in a small sill ornament to connect the two parts of the display.
10. Frame the Window with an Autumn Garland
An autumn garland can stay up beyond Halloween with a few changes. Start with leaves or faux foliage around the upper edge of the window, then add detachable bats or ghosts for October.
Let the garland frame the view rather than hang heavily across the center. On a small window, decorating the top edge and one side is often enough.
Halloween Window Decorations That Stand Out at Night
11. Create Glowing Eyes with a Backlit Panel
For eyes that appear to glow, you need light-transmitting material and a light source. A pair of eyes drawn on opaque paper will remain opaque.
Cut two large eye openings in a black cardstock panel and cover the openings from behind with translucent yellow or green paper. Mount the panel inside the window and position a diffuse LED light behind it, with the clearance specified by the light’s manufacturer.
Test the effect after dark. Move the light or panel until both eyes illuminate evenly and the light itself is hidden from the street.
12. Turn a Window into a Shadow Theater
Build one dramatic scene around a large silhouette: a witch stirring a cauldron, a towering monster, or a cat beside an oversized moon.
Position the cutout in front of a light-colored translucent backdrop, then place a suitable light behind the backdrop. Adjust the spacing until the silhouette looks clear from outside. The cutout supplies the shape; the illuminated background supplies the contrast.
13. Outline the Frame with String Lights
Lights around the frame can define the window even when the decorations inside are simple. Warm white suits pumpkins and autumn foliage, while purple or green creates a more theatrical look.
Look at the display from outdoors with your normal room lights on. You may find that fewer lights and a brighter central shape create a cleaner effect than several competing strands.
14. Set Up a Halloween Window Projection
A window projection can bring moving ghosts or other animated scenes to a large pane. It works best when you can control the room lighting and give the projector enough space.
Choose a projector and content that support the viewing arrangement you want. Measure the required distance, position a rear-projection surface across the intended area, and check whether the image needs to be reversed for the outdoor audience.
A thin white sheet can be worth testing, but wrinkles and fabric density affect the result; a compatible rear-projection screen provides a more purpose-made surface. Test the setup after dark, keep ventilation openings clear, and leave any emergency exit window accessible.
Window Sill and Small-Space Ideas
15. Build a Mini Pumpkin Patch
Group a few small pumpkins on a dry sill, varying their height and shape. Place the tallest toward one side and leave a clear gap around the group so it feels intentional.
Use a shallow tray to make cleaning and rearranging easier. On a narrow sill, choose lightweight faux pumpkins that sit fully within the available depth. Avoid balancing decorations on the edge or suspending heavy real pumpkins above the glass.
Add a separate LED lantern for an evening glow. If you use real pumpkins, inspect them regularly and remove any that soften or leak.
16. Make a Cozy Window-Seat Display
If your window has a bench beneath it, extend the theme into the seating area. Pair a ghost or pumpkin decoration on the glass with a seasonal cushion and a folded throw below.
Keep the seat comfortable and leave space to sit. A restrained palette helps the window design and textiles feel connected without covering every surface in patterns.
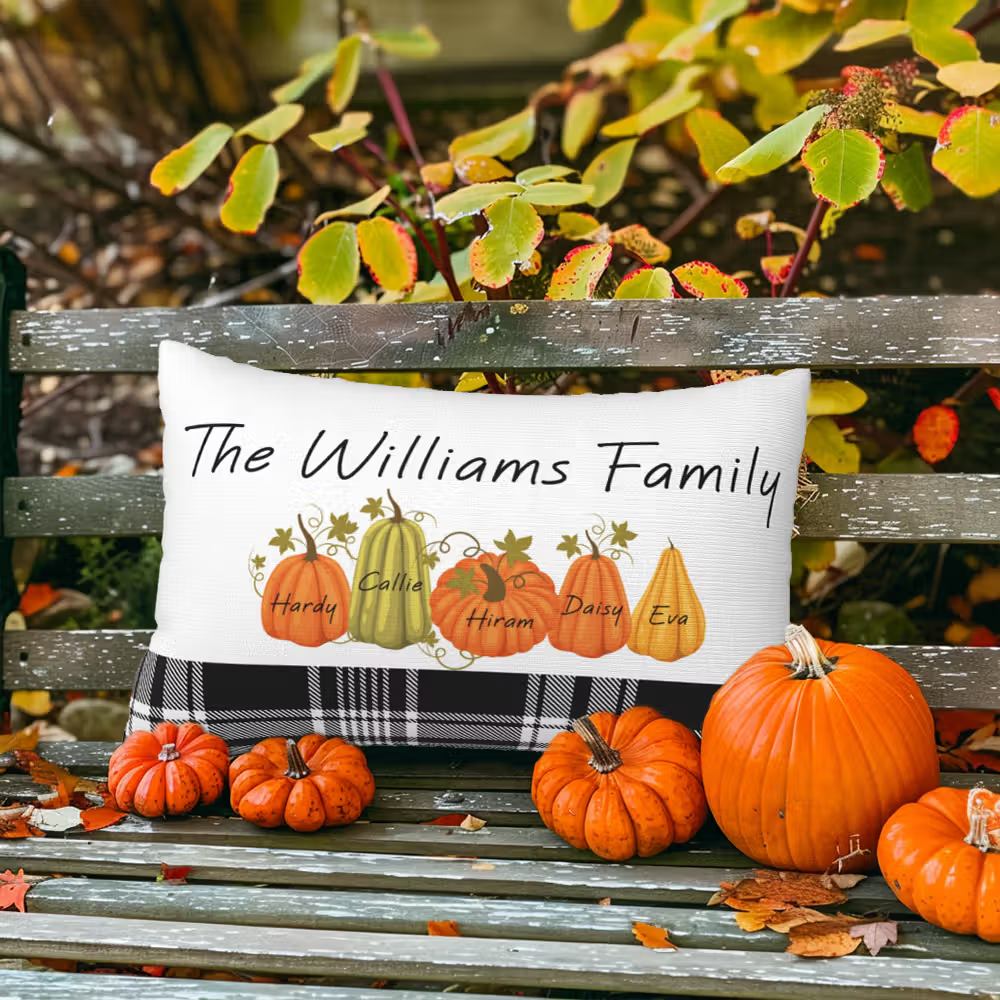
Callie’s personalized Halloween home decor collection includes seasonal pillow covers and throws with pet and character designs. Choose one accent that suits your household, then repeat a color from it in the window decorations.
17. Group LED Lanterns on a Deep Sill
A deep sill can hold a small cluster of lanterns with battery-operated candles. Choose different heights, keep each base stable, and place one pumpkin or paper silhouette beside the group.
Use enclosed LED candles in place of real flames near curtains and paper crafts. Keep battery compartments secured and accessible for maintenance.
For shallow windows, move the arrangement to a nearby console table instead. You can still see the glow through the glass without crowding the sill.
18. Give Each Pane One Repeated Motif
For a divided window, treat the panes as a coordinated set. Put a ghost in each lower pane, a bat in each upper pane, or one pumpkin at the same height across the row.
Repeat the shape and scale while changing small details such as expressions. This works well when you want a playful display that remains tidy from the street.
On a single small pane, reduce the idea to one large motif and a few stars. Matching the scale of the decoration to the available glass makes more difference than adding extra pieces.
Put the Whole Display Together
Choose a focal point first, then add one supporting layer. A haunted street with backlighting, a suncatcher above a pumpkin tray, or a wreath surrounded by a few bats is enough to create a complete window.
For a street-facing living room, check both the daytime arrangement and the nighttime lighting. For an apartment window, favor flat decorations and lightweight accents that leave room for blinds. For a bay window, give the center panel the main scene and keep the side panels simpler.
If the window sits beside your front door, repeat a color or motif in your Halloween porch decor. For an indoor celebration, carry the same palette into your Halloween party decorations so the window feels connected to the room.
Frequently Asked Questions
What are the easiest Halloween window decorations to make?
Paper bats, cardstock ghosts, and a simple pumpkin silhouette are easy starting points. Choose one large shape or a short garland, use materials you already have, and test the arrangement before attaching it. A bold design is usually easier to make and easier to see than lots of tiny details.
How do you decorate windows for Halloween without leaving marks?
Start with non-adhesive static clings approved for your glass, freestanding sill decorations, or lightweight pieces hung from suitable existing hardware. If you use removable adhesive products, check compatibility with the actual surface, including any film or coating, and follow the removal directions. No attachment method is suitable for every finish.
Should Halloween window decorations go inside or outside?
Indoor placement keeps paper crafts and indoor-only lights out of rain and wind. Outdoor decorations need materials, lights, and fixings intended for that exposure. Wherever you place them, keep locks, ventilation, and any required escape route usable.
How do you make Halloween window decorations visible at night?
Use contrast. Dark silhouettes need a brighter background, while translucent panels need light behind them. Lanterns and string lights provide their own illumination. Check the result from outside after dark because reflections and room lighting can change what people see.
How do you remove and store window decorations?
Follow the manufacturer’s directions for decals, markers, and mounting strips. Avoid scraping coated or filmed glass with a blade or using a solvent unless the window manufacturer permits it. Return reusable clings to their backing sheets, store paper shapes flat, and label light strands and supports so next year’s setup is easier.